
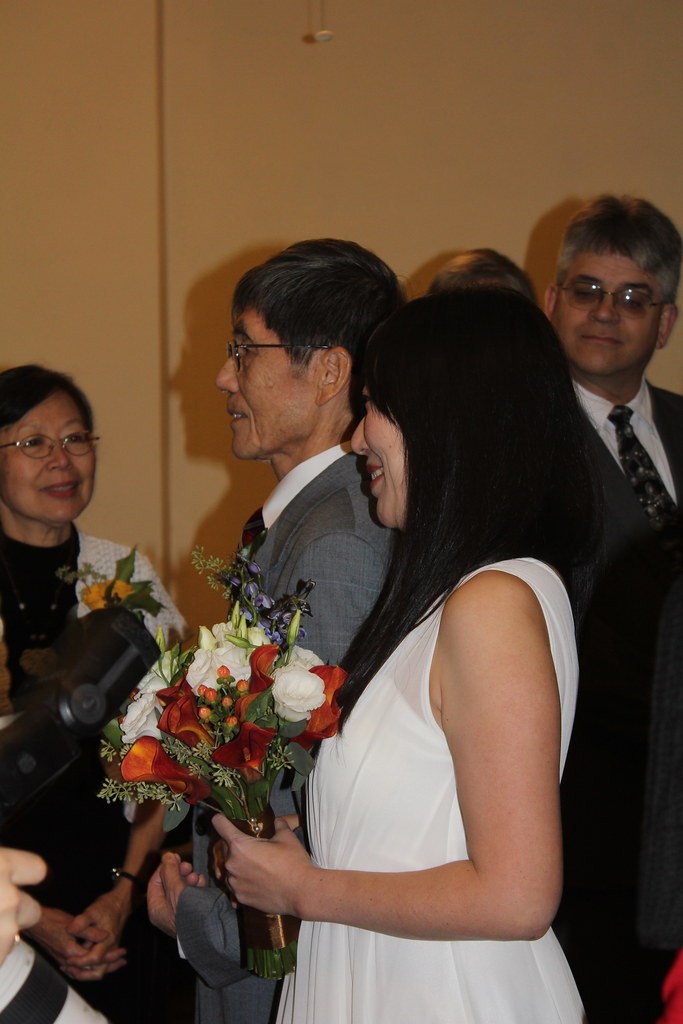
Last weekend was Karol and Dave’s wedding. And Karol — as evidenced by numerous blog posts chronicling her bake-off victories — is a master of making apple pie. The perfect golden crusts, tall mounds of apple-y ooze, and her signature crimped, lattice-woven tops, were the delight of many parties she has treated myself and friends to throughout the years. I wanted to honor that at her wedding somehow. But a wedding must have cake.
Not only must it be cake for weddings, rather than a pie, but it can’t just be your average birthday cake. No, wedding cakes are architecturally ornate; these are lean sculptures molded with smooth, unblemished sides rather than spackled with buttercream. When the idea of an “apple pie cake” popped into my head, I knew exactly what it should look like. But I didn’t know how to get there.
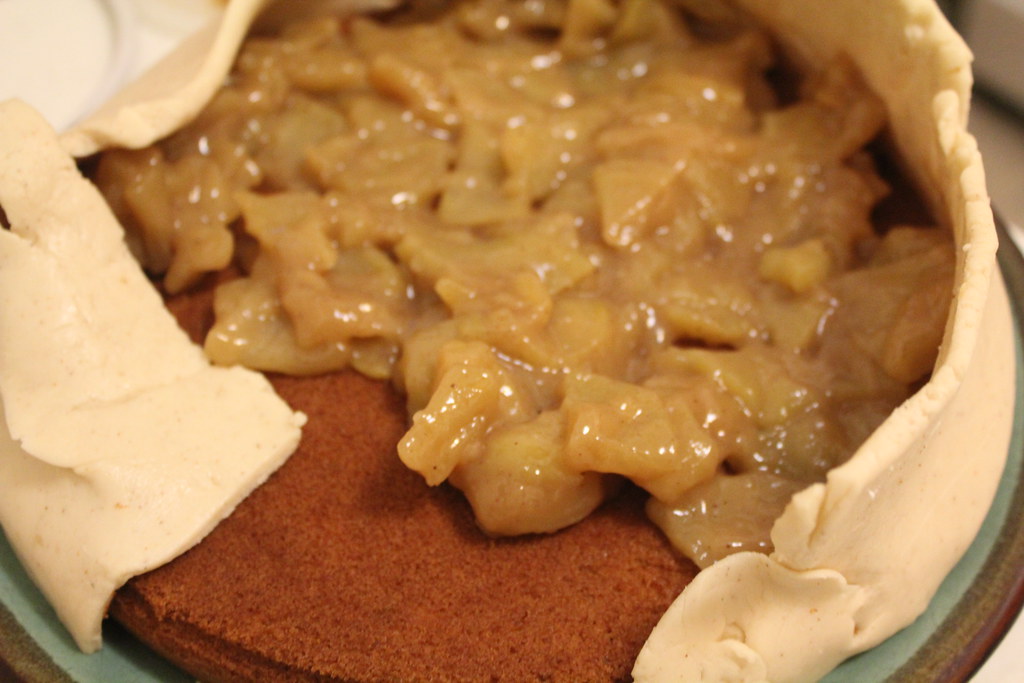
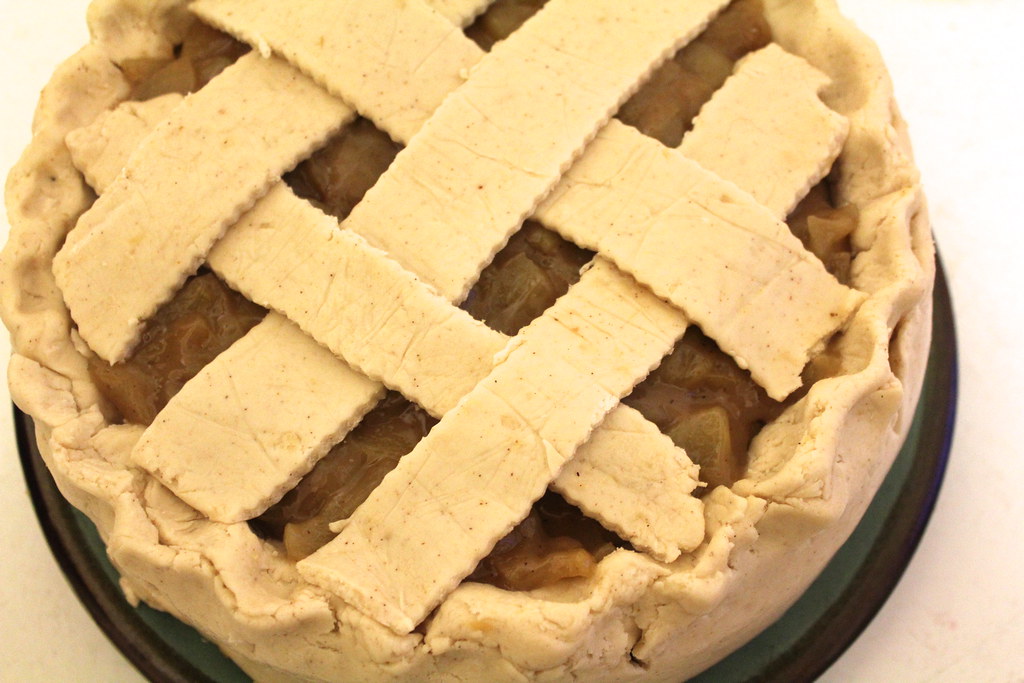
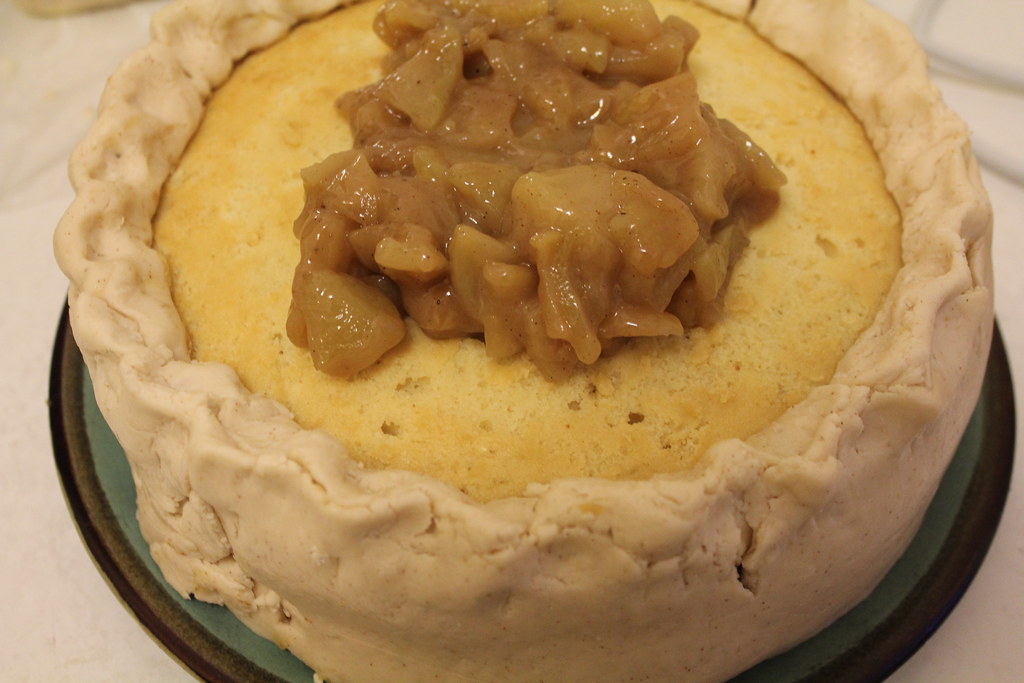
My vision for the cake consisted of two basic white cake tiers with a layer of apple pie-esque goop in between them. On top of that, a pool of more apple pie filling would flow, flanked by a rim that looked like a crimped pie pastry crust. On top of that, lattice strips woven such that the apple filling peeked through. This cake would have to incorporate fondant for the pie’s “crust.” You can’t weave strips of frosting, nor crimp it with your fingers.
What is fondant, anyway? I imagined it as a sweet-flavored play dough, which was more or less as easy to work with as actual pie pastry dough. Actually, it’s two things: when talking about cake decorating, we’re typically talking “rolled fondant.” This is the pliable, yet solid, icing that can be molded in various ways onto cakes. Then there’s “poured fondant,” a similar sugary substance that is more liquid — think Cadbury cream eggs’ cream. In either case, fondant has incorporated food additives not found in the common kitchen all the way back to its beginning (a 1558 recipe calls for gum tragacanth). Nowadays, most recipes for rolled fondant require the use of food-grade glycerine, along with gelatin. Fortunately, a few plucky home cooks have figured out how to make fondant without having to order commercial baking supplies: marshmallows. Store-bought marshmallows contain the necessary gelatin and have a convincingly similar texture to rolled fondant when melted and kneaded with confectioner’s sugar. I know, sugar folded into more sugar, yum!
So, first warning on fondant: Get the wholesome image out of your head and make way for food additives (or, Kraft).
After choosing a recipe for marshmallow-based fondant, I arrived at my friend (and fellow bridesmaid) Laena‘s place with the necessary ingredients: marshmallows, confectioner’s sugar and butter, for greasing every surface of the fondant with while kneading it. These instructions made me very nervous, as I imagined marshmallow glue everywhere, getting stuck to my hair in such a way that I’d have to chop it off before the wedding the next day. We also planned to make the apple pie-like filling that night, in addition to the fondant. The apple filling was simple: we basically baked an apple pie with no crust. I added extra flour to the chopped apple mixture to ensure that it would be thick and not runny; it worked.
 melting marshmallows to fold with confectioner’s sugar into fondant
When it came to start making the fondant, we realized there was one thing missing: something to make the white, sugary icing appear the color of… baked pie pastry. Was that tan? Yellow-brown? We futzed around through the cabinets, eventually choosing vanilla extract and generous pinches of ground cinnamon. Incidentally, Laena’s roommate had begun making something involving marshmallows and a reduced whiskey glaze of some sort days before and had left it in the kitchen. We used that, because the reduction syrup was deep-brown, as well. When it came to melting the marshmallows (colored with the aforementioned) and kneading it with confectioner’s sugar, things went blissfully easy. Warm, the marshmallows enveloped the sugar until it became a soft, stretchy mound, not unlike taffy. Butter was streaked all over our hands and a sheet of parchment paper, where the fondant was plopped, folded with more sugar, and turned over repeatedly. The recipe instructed to let the fondant chill overnight before rolling it out. So we slathered the ball with butter, stuck it in a Ziploc bag, and called it a day. We were positively dancing at how well the job was done.
Second warning on fondant: Figure out how you plan to dye it before it’s mixed up.
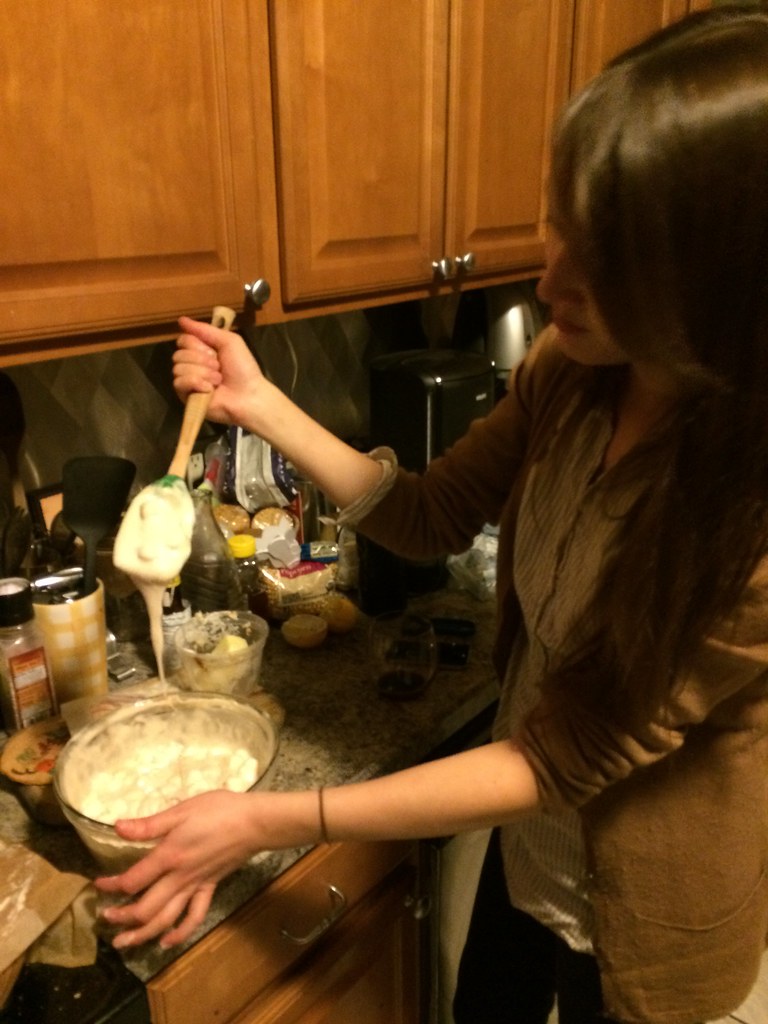
 beating up a basic cake batter
But the real job had yet to begin. The next day, in my kitchen, I made a basic cake batter to pour into two (borrowed) 9″ springform pans. Meanwhile, I let the fondant come up to room temperature on my cutting board. Fresh out of the fridge, the stuff was like a rock. I couldn’t imagine rolling it out with all my might. I put it off for a few hours even, coming home to find the still-hard lump of stuff in plastic on my counter. The cakes were finished baking and had cooled down completely. So now it was just a matter of getting that frosting onto them, in a somewhat thin sheet.
Third warning on fondant: It’s really, really hard to roll out.
I’m not sure if something went wrong while kneading the stuff the night before — did we add too much or too little confectioner’s sugar? — but this fondant was not being flattened out without a good, long fight. I placed another cutting board on top of a ball of it and stood on it, and it barely sunk a little. I pressed with all my might with a rolling pin, finally making some progress at just the edges of the lump. I eventually cut the ball into flattish sheets, and began rolling them out from there, which worked better. I even broke out my pasta crank and tried to stuff the icing through the thickest setting, but…
Fourth warning on fondant: No, your pasta crank will not roll it out very well, if at all (it makes the fondant crumble and tear apart).
By this time, I was sweating and had to be at the ceremony in two hours. I had yet to shower or dress. I think that this pressure endowed me with superhuman strength, and I plowed across just enough fondant with my rolling pin to create a rim for the cake. Afterward, I rolled a few pieces in my hands like I was making a play dough snake, and arranged that in a circle across the top edge of the cake. This I pinched just like I would a pie pastry before baking, only I began to realize that the fondant was drying faster by the second, and the separate pieces (snake, the flat sides) wouldn’t exactly adhere seamlessly after repeated prying. It looked a little messy, but who cared at this point?
Fifth warning on fondant: It dries out to crackly, crumbly bits if you expose it to air too long while working with it.
I managed to press out just enough fondant “dough” to make lattice strips for the “woven” top “crust.” These were placed just so on top of a smoothed layer of that apple pie filling stuff. Then it was off to the church.
I know what you’re thinking — we could have gone with a crumble-topped apple pie theme instead. Or perhaps even crushed bits of actual pie pastry to sprinkle on top of the cake, with all the components of apple pie filling and cake tiers as discussed underneath. But Karol does not make crumble-crust apple pies. She makes pastry crusts, with beautiful lattice-woven tops. That would be no way to salute the bride. Just in case you’re wondering, Karol and Dave did order a regular, professional wedding cake from a bakery to present at their reception. This “apple pie cake” was just a fun-surprise addition. So it was okay that some of the fondant around the sides looked a little wonky. It’s okay that I forgot to sprinkle sugar on top of the lattice “crust.” It was just a side attraction at the wedding buffet, a visual gag that also happened to be edible. And edible it was: sliced up at the after-party, the cake — and the fondant — tasted pretty okay. But the best part about the “apple pie cake” at the wedding was that it looked like just that. Most people, upon first glance, thought it was just an apple pie, probably made by the bride.
Oh, and how’d the wedding go? Awful. So awful I cried like a child. Thank goodness the food there was good, I would have been too distracted with weeping otherwise to eat.
Apple Pie Cake
(makes one 9″ two-layer cake)
for the filling:
5 large granny smith apples, peeled, cored and sliced thinly
1/4 cup packed brown sugar
1 tablespoon flour
1/4 teaspoon each ground cinnamon and nutmeg
for the fondant:
1 lb mini marshmallows
1 teaspoon vanilla extract
1 teaspoon ground cinnamon
2 lbs confectioner’s sugar
1 stick butter (for greasing surfaces and hands)
for the cake:
1 cup unsalted butter
1 cup sugar
4 eggs
1/4 teaspoon vanilla extract
3 cups all-purpose flour
1/4 teaspoon salt
3 1/2 teaspoons baking powder
1/2 cup milk
To make the fondant: Place marshmallows in a microwave-safe bowl and microwave for 30 minutes at a time, stopping to stir them after each interval, until completely melted. Stir in the vanilla and cinnamon. Pour in 1/4 cup of the confectioner’s sugar at a time, folding it into the bowl with a spatula, until you’ve incorporated half the sugar. Generously grease a sheet of parchment paper and your hands, and turn the mixture onto the parchment. Knead, stopping to slather your hands with more butter to prevent from sticking, and sprinkle in more of the confectioner’s sugar as you knead. Once all the sugar is fully incorporated and the fondant has been kneaded until smooth (about 5 minutes total), generously coat the ball of fondant with butter and seal in an airtight plastic bag or with plastic wrap. Chill at least 2 hours, or up to overnight.
To make the apple filling: Preheat oven to 350 degrees. Toss all the ingredients to coat evenly. Spread into an oven-safe casserole dish and cover with foil. Bake for 30 minutes, or until the apples are softened and the sauce is thick and bubbly. Let cool completely before using.
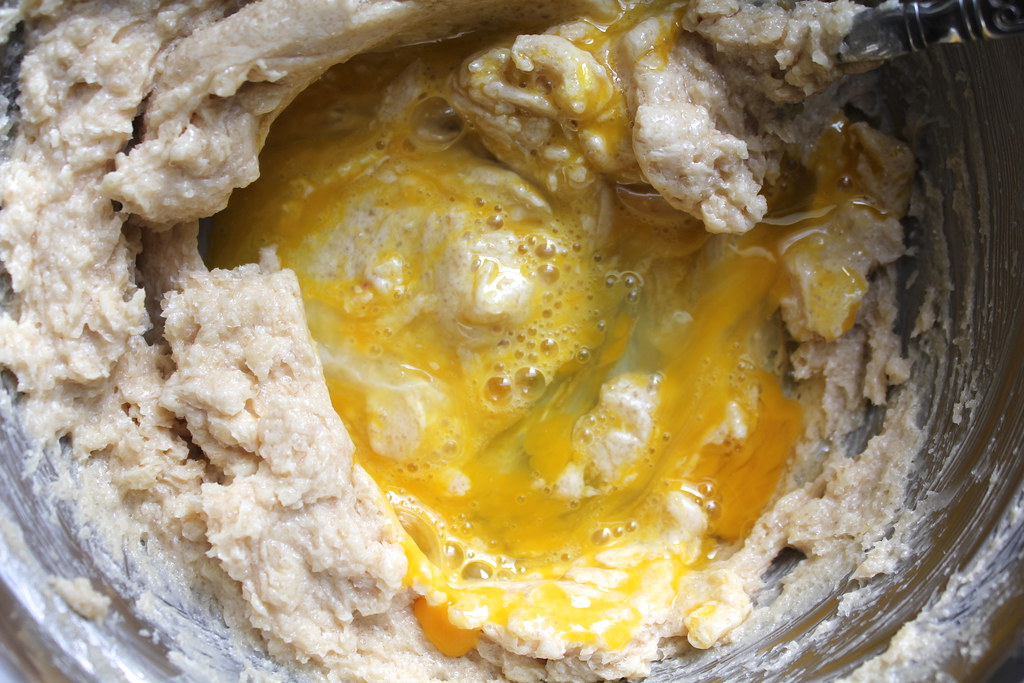
To make the cake: Preheat oven to 350 degrees. Cream the butter and sugar. Whisk in the eggs one at a time. Whisk in the vanilla. Sift the dry ingredients in a separate bowl. Add a spoonful of the dry ingredients to the wet mixture at a time, beating until fully incorporated, until all the dry ingredients have been added. Stir in the milk and whisk until mixture is perfectly smooth. Pour half the mixture into two well-greased 9″ cake pans. Bake for 35-40 minutes, or until a toothpick inserted into the center of the cakes comes out clean. Let cool completely before next steps.
To assemble the cake: Place one of the cakes baked side-down on a cake plate (so that the flat part of the cake is now on top). Spread half of the cooked apple mixture evenly across the top. Place the other cake baked side-up on top of this (so that the flat part of the cake is on the bottom).
Cut as thin, flat and long a piece of fondant as you can and place it onto a sheet of greased parchment paper. Place another sheet of parchment paper on top of it. Roll the fondant with a rolling pin until you have a long, rectangular piece that’s just wide enough to cover the height of the cake. Place it aside while you repeat the process to create another rectangular piece of fondant. Now, patch the two pieces together (pressing together at the seam and rolling it out with the rolling pin) to create an extra-long sheet of fondant that’s wide enough to cover the height of the cake. Once you have created a very long, rectangular piece of fondant, arrange it around the sides of the cake, trimming off any extra length on the edge and pressing it sealed at the edge, to cover the entire sides of the cake.
Roll out a long piece of fondant into a 1/2″ thick or so snake. Curl this snake into a circle to place on top of the cake, around the top edges. With your fingers, go around the cake and pinch the “crust” as you would a pie before baking it. Spread the remaining half of the apple mixture on top of the cake evenly.
Cut another thin, flat and long a piece of fondant and place it onto a sheet of greased parchment paper. Place another sheet of parchment paper on top of it. Roll the fondant with a rolling pin until you have a long, rectangular piece. Cut this piece into 6 strips about 1″ in width. (Use of crinkle-cut scissors or pie cutters optional.) Place one strip across the center of the top of the cake, trimming it as needed to fit inside the edge. Place another strip on top of it perpendicular to the first strip. Lift up one side of the first strip and place another strip underneath, trimming it off as needed. Lift up the opposite side of that strip and place another strip underneath. Continue process working from the center of the perpendicular, center strip. Sprinkle the top of the cake with a small handful of sugar (optional) and serve.
2 Responses
Chris Zaccharia
Oh I remember my friend giving this kind of cake to me. I so much love it. Very delicious. 🙂
shiva
What do you know about this yahtzee Board game and how to play for free and without installation process? Here is the full answer and http://theyahtzee.com you can also Join with just a simple visit at this Homepage.